For commercial projects, plug-in fixtures are rarely acceptable due to aesthetics and municipal building codes. Learning how to hardwire an LED vanity mirror safely and systematically is vital for contractors managing hotel or apartment outfittings.
Disclaimer: All electrical work must be performed by a licensed electrician according to local NEC and municipal codes.
Phase 1: Pre-Wire Preparation
- Voltage Compatibility: Verify your LED mirror driver. Most commercial units accept 110V-120V standard mains power directly, converting it internally to 12V or 24V for the LED strips. - Breaker Safety: Always flip the main circuit breaker off and verify null voltage with a non-contact tester. - Junction Box Position: Ensure the electrical junction box is centered precisely behind the mirror's housing channel, allowing the mirror to lay perfectly flush against the drywall.Phase 2: Connecting the Wires
Strip the heavy-gauge mains cable to expose the standard trio: Line (Black), Neutral (White), and Ground (Green/Bare Copper). 1. Connect the Black mirror wire to the Live/Hot Line. 2. Connect the White mirror wire to the Neutral Line. 3. Connect the Green/Yellow mirror wire to the Earth Ground. Secure all connections firmly using industrial-grade wire nuts and electrical tape, ensuring the copper strands are tightly twisted.Phase 3: Mounting and Defogger Testing
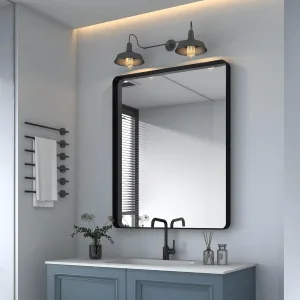
Once connections are safely tucked into the junction box, mount the mirror onto the provided French cleat or direct-mount hardware.Crucial Test: For premium units like our Commercial Anti-Fog LED Mirrors, activate the touch-sensor defogger pad. The center panel should become perceptibly warm within 3 to 5 minutes.
By following standardized hardwiring protocols, your installation team can rapidly deploy TWALSU commercial-grade hardware across hundreds of hospitality suites with zero defect returns.